Introduction
In the world of accounting software, QuickBooks stands out as a reliable and efficient tool for managing finances. However, like any software, it can encounter installation issues that disrupt your workflow. This is where the QuickBooks Install Diagnostic Tool comes in handy. Designed to diagnose and fix installation problems, this tool can save you from the frustration of dealing with complex errors.
For Sage users, understanding the nuances of QuickBooks and its diagnostic tools can be incredibly beneficial. This guide will delve into the QuickBooks Install Diagnostic Tool, explaining its features, benefits, and how to use it effectively. If you encounter any issues or need personalized assistance, you can always reach out to support at +18556030490.
What is the QuickBooks Install Diagnostic Tool?
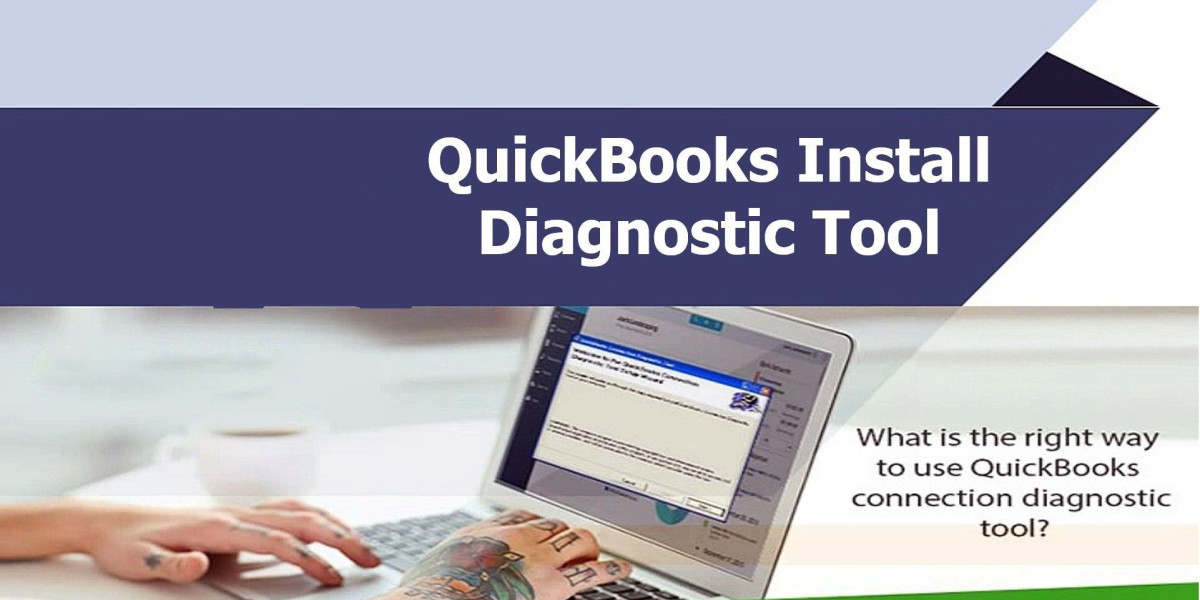
The QuickBooks Install Diagnostic Tool is a powerful utility developed by Intuit to troubleshoot and resolve issues that arise during the installation of QuickBooks Desktop. It is designed to identify and fix problems related to Microsoft .NET Framework, C++, and MSXML, which are essential components for running QuickBooks.
Common Issues Addressed by the QuickBooks Install Diagnostic Tool
The tool is particularly useful for resolving the following issues:
- Error 1603: This error occurs due to issues with the Microsoft .NET Framework.
- Error 1935: This is another .NET Framework-related error that typically occurs during the installation process.
- Error 1904: This error is related to damaged or missing components necessary for the installation.
- Error 1402: This error indicates that the installer cannot open a key during the installation process.
- Microsoft .NET Framework, MSXML, and C++ related issues: The tool can fix issues related to these crucial components, ensuring a smooth installation process.
Why Sage Users Should Care About QuickBooks Install Diagnostic Tool
Sage users, particularly those who manage multiple accounting systems or are transitioning to QuickBooks, should understand the importance of the QuickBooks Install Diagnostic Tool. Here’s why:
- Smooth Transition: If you're switching from Sage to QuickBooks, you might encounter installation issues. The diagnostic tool can help ensure a seamless transition.
- Multi-Software Management: Managing multiple accounting software can be challenging. Understanding QuickBooks tools can help you better handle potential issues.
- Enhanced Efficiency: Quick resolution of installation issues ensures minimal downtime, helping maintain productivity.
How to Download and Install the QuickBooks Install Diagnostic Tool
Step 1: Download the Tool
- Visit the official Intuit website.
- Search for the QuickBooks Install Diagnostic Tool.
- Click on the download link and save the file to your computer.
Step 2: Install the Tool
- Close any open programs running on your computer.
- Double-click on the downloaded file (QBInstall_tool_v2.exe) to start the installation process.
- Follow the on-screen instructions to complete the installation.
Using the QuickBooks Install Diagnostic Tool
Step 1: Run the Tool
- Once installed, open the QuickBooks Install Diagnostic Tool.
- The tool will automatically start diagnosing the installation issues.
Step 2: Diagnosis and Repair
- The tool will scan your system for issues related to .NET Framework, MSXML, and C++.
- It will then attempt to repair any detected issues. This process may take some time, depending on the severity of the problems.
Step 3: Restart Your Computer
After the tool has completed its diagnostics and repairs, restart your computer to ensure all changes are applied.
Detailed Explanation of Errors and Their Fixes
Error 1603: Fixing .NET Framework Issues
Symptoms:
- The installation process abruptly stops.
- Error message displaying "Error 1603: There was a problem installing Microsoft .NET Framework [version]."
Solution:
- Run the QuickBooks Install Diagnostic Tool as mentioned above.
- If the issue persists, manually repair the .NET Framework:
- Go to the Control Panel.
- Select Programs and Features.
- Find the Microsoft .NET Framework, right-click, and choose Repair.
Error 1935: Another .NET Framework Issue
Symptoms:
- Installation fails with an error message related to the .NET Framework.
- Error code 1935.
Solution:
- Run the QuickBooks Install Diagnostic Tool.
- Ensure that the .NET Framework is enabled on your system:
- Go to Control Panel > Programs and Features > Turn Windows features on or off.
- Ensure that all .NET Framework options are checked.
Error 1904: Component Issues
Symptoms:
- Error message: "Error 1904: [file path / name] failed to register."
Solution:
- Run the QuickBooks Install Diagnostic Tool.
- Manually register the file:
- Open the Command Prompt as an administrator.
- Type the following command and press Enter:css
regsvr32 [file path / name]
Error 1402: Registry Key Issues
Symptoms:
- Installation fails with an error message indicating that a registry key cannot be opened.
Solution:
- Run the QuickBooks Install Diagnostic Tool.
- Modify registry settings:
- Press Windows + R to open the Run dialog.
- Type
regeditand press Enter to open the Registry Editor. - Navigate to the problematic key, right-click, and select Permissions.
- Ensure that you have full control over the key.
Advanced Troubleshooting Tips
While the QuickBooks Install Diagnostic Tool is highly effective, there might be instances where additional troubleshooting steps are necessary. Here are some advanced tips:
Clean Install of QuickBooks
If the diagnostic tool does not resolve the issue, performing a clean install of QuickBooks might be necessary.
Uninstall QuickBooks:
- Open the Control Panel.
- Select Programs and Features.
- Find QuickBooks in the list, right-click, and choose Uninstall.
Rename Installation Folders:
- Open Windows Explorer.
- Navigate to the following locations and rename the folders (e.g., add ".old" to the end of each folder name):makefile
C:\ProgramData\Intuit\QuickBooksC:\Users\[Your User Name]\AppData\Local\Intuit\QuickBooksC:\Program Files\Intuit\QuickBooksC:\Program Files (x86)\Intuit\QuickBooks
Reinstall QuickBooks:
- Download the QuickBooks installation file from the official Intuit website.
- Run the installer and follow the on-screen instructions.
Update Windows Components
Ensure that your Windows operating system is up-to-date, as outdated components can cause installation issues.
Run Windows Update:
- Go to Settings > Update & Security > Windows Update.
- Check for updates and install any available updates.
Update Microsoft Components:
- Download and install the latest versions of the Microsoft .NET Framework, MSXML, and C++ redistributable packages from the official Microsoft website.
Use QuickBooks Install Diagnostic Tool in Safe Mode
Running the diagnostic tool in Safe Mode can sometimes resolve persistent issues.
Boot into Safe Mode:
- Press Windows + R to open the Run dialog.
- Type
msconfigand press Enter. - In the System Configuration window, go to the Boot tab and check the Safe Boot option.
- Click OK and restart your computer.
Run the QuickBooks Install Diagnostic Tool:
- Open the tool and let it diagnose and repair any issues.
Restart in Normal Mode:
- Open the System Configuration window again and uncheck the Safe Boot option.
- Click OK and restart your computer.
Preventing Future Installation Issues
To minimize the risk of encountering installation issues in the future, consider the following preventive measures:
Regularly Update QuickBooks:
- Keep your QuickBooks software up-to-date to ensure compatibility with the latest system components and security updates.
Maintain a Clean System:
- Regularly clean your system by uninstalling unnecessary programs and clearing temporary files.
Use a Reliable Antivirus:
- Ensure that your antivirus software is up-to-date and perform regular scans to protect your system from malware and other threats.
Backup Your Data:
- Regularly back up your QuickBooks data to prevent data loss in case of installation issues or system failures.
When to Seek Professional Help
While the QuickBooks Install Diagnostic Tool is highly effective, there may be instances where professional assistance is required. If you encounter persistent issues or are unsure about any troubleshooting steps, it is advisable to seek help from a certified QuickBooks professional.
Contact Support: For personalized assistance, you can reach out to QuickBooks support at +18556030490. Their team of experts can guide you through complex issues and ensure a smooth installation process.
Conclusion
The QuickBooks Install Diagnostic Tool is an essential utility for anyone using QuickBooks Desktop. By understanding its features and knowing how to use it effectively, you can quickly resolve installation issues and ensure a smooth and efficient workflow. For Sage users, this knowledge can be particularly valuable, whether you're managing multiple accounting systems or transitioning to QuickBooks.
Remember, if you encounter any issues or need further assistance, you can always contact support at +18556030490. With the right tools and support, you can make the most of your QuickBooks experience and keep your financial operations running smoothly.